
In the world of data management and spreadsheet precision, Excel Data Validation stands as an invaluable tool. With this powerful feature, you can ensure the accuracy and consistency of your data, eliminating errors and enhancing the quality of your work. In this article, we’ll delve into the depths of Excel Data Validation, explore its various aspects, and provide you with expert tips to make the most out of this feature.
Understanding Data Validation
Data Validation in Excel is a game-changer for maintaining clean and error-free data. It empowers you to define specific rules and criteria that govern what can be entered into a cell. By doing so, you can prevent invalid or inconsistent data from being inputted, ensuring that your spreadsheets are reliable and trustworthy.
The Basics of Data Validation
At its core, Data Validation allows you to restrict the type of data that can be entered into a cell. You can define rules that specify the acceptable values, ensuring that users input data that conforms to your criteria. This is particularly useful for scenarios where accuracy is crucial, such as financial data, dates, or predefined lists.
Key Features and Benefits
Let’s take a closer look at some key features and benefits of Excel Data Validation:
- Precision and Accuracy: Data Validation ensures that the data entered meets specific criteria, reducing the chances of errors and inaccuracies in your spreadsheets.
- User-Friendly: You can set up custom input messages and warning messages, guiding users on acceptable entries and providing helpful information when needed.
- Efficiency: By limiting the options in a drop-down list, you can speed up data entry and maintain consistency across the sheet.
- Error Prevention: With Data Validation, you can minimize the risk of entering incorrect data, which can have significant consequences in critical applications.
Implementing Data Validation
Now that we’ve covered the fundamentals, let’s dive into the steps to implement Data Validation in your Excel worksheets.
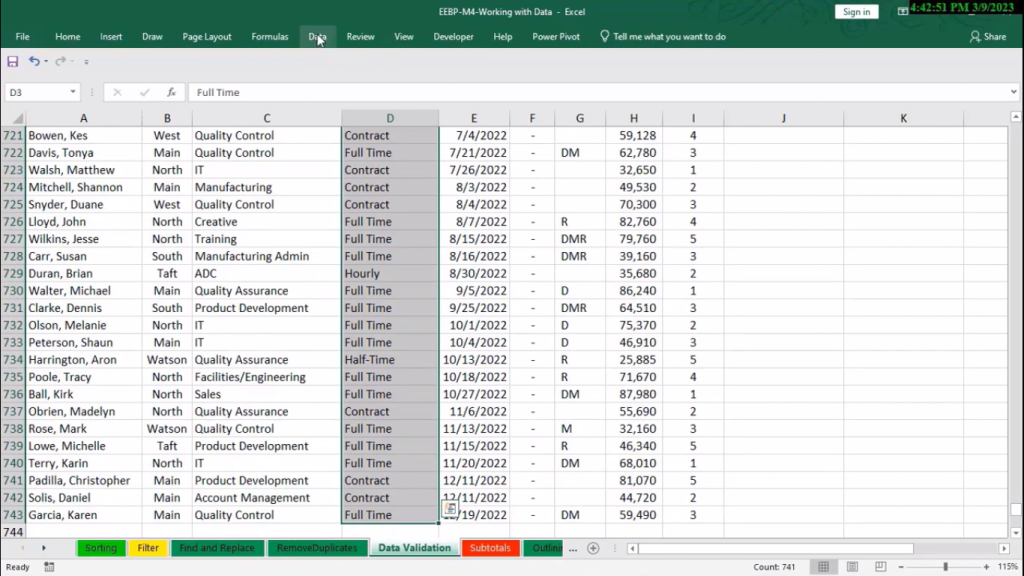
Step 1: Select the Cells
First, you need to select the cells where you want to apply Data Validation. This can be a single cell, a range of cells, or even an entire column.
Step 2: Access the Data Validation Dialog Box
Go to the “Data” tab on the Excel ribbon, and click on the “Data Validation” button. This will open the Data Validation dialog box, where you can configure the rules.
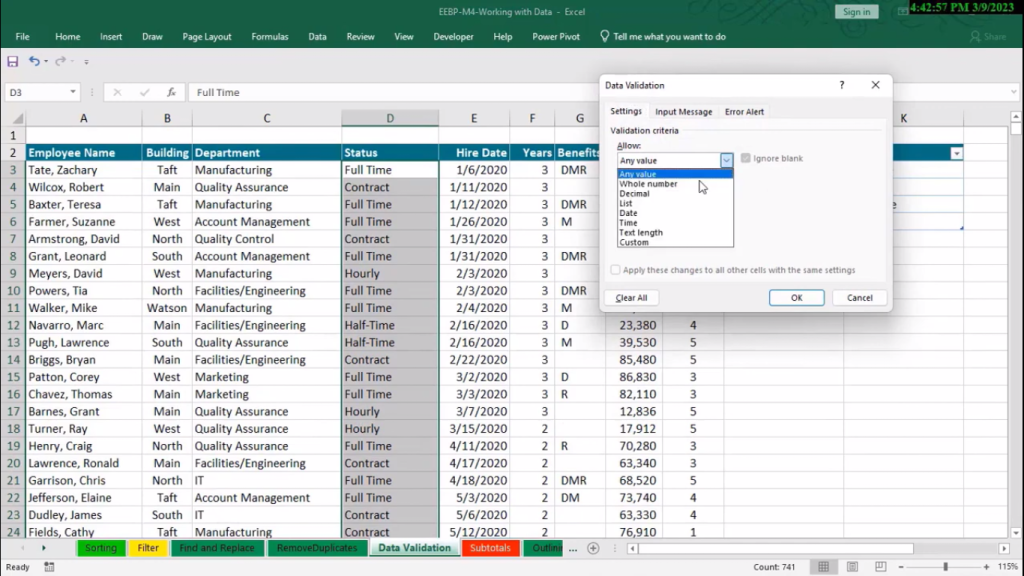
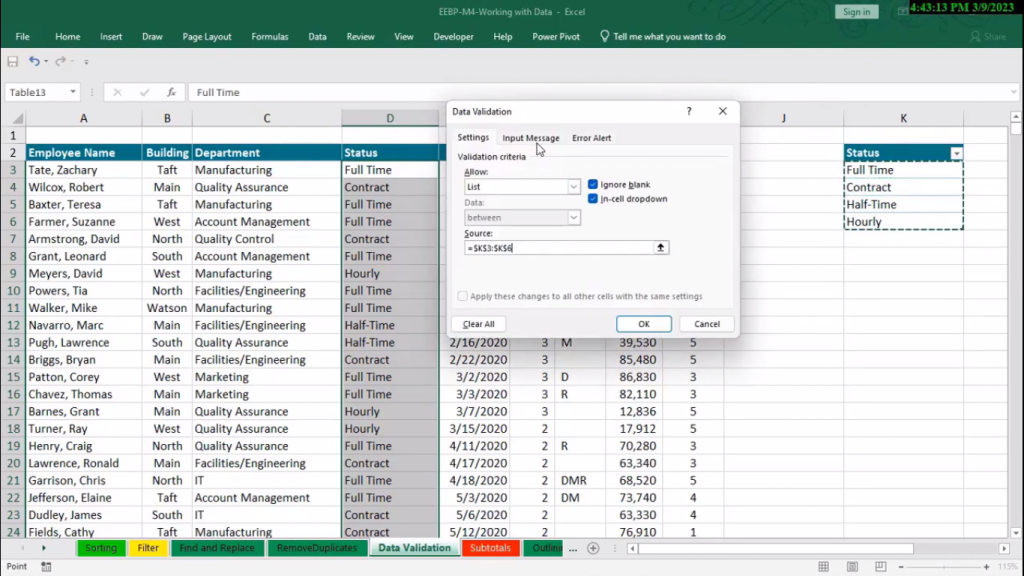
Step 3: Set the Validation Criteria
In the Data Validation dialog box, you can specify the validation criteria. This includes options such as allowing specific numbers, dates, or text values. You can also set up custom formulas for more advanced validations.
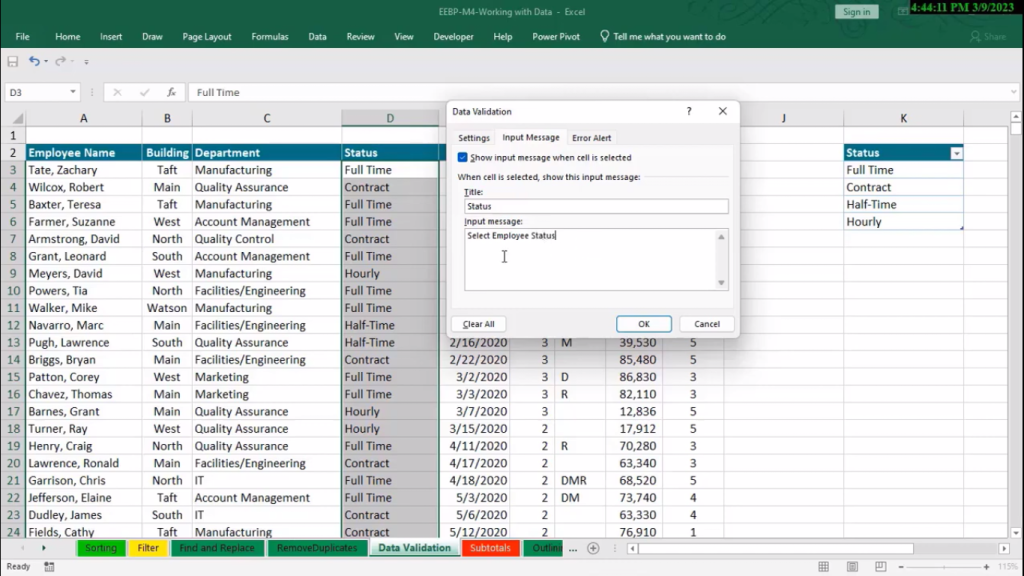
Step 4: Configure Input Messages (Optional)
To provide guidance to users, you can set up input messages that appear when a user selects a cell with Data Validation. This message can explain the type of data allowed and any other relevant information.
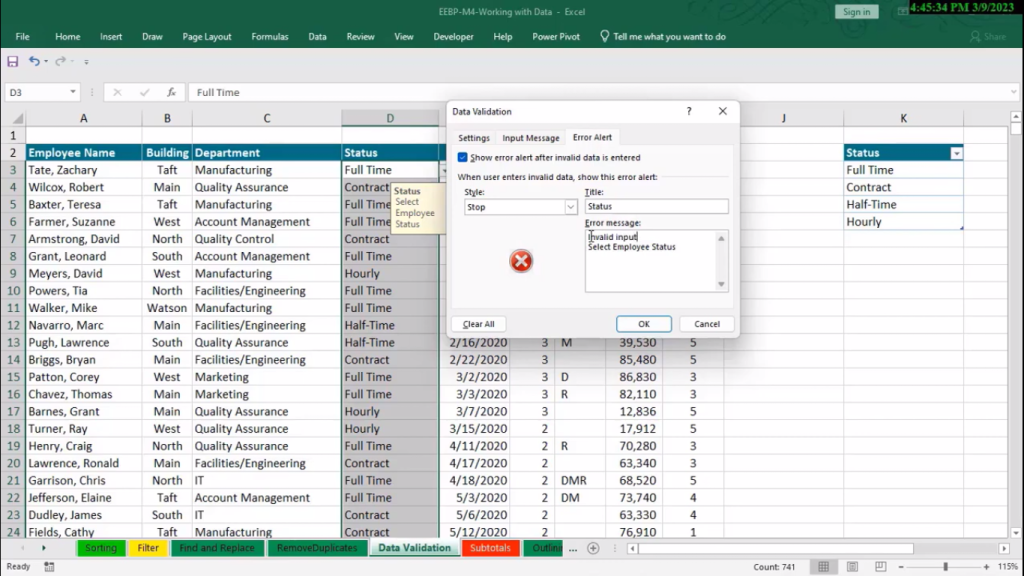
Step 5: Configure Error Alerts (Optional)
You can set up error alerts to notify users when they input invalid data. This can include a custom error message and an alert style (stop, warning, or information).
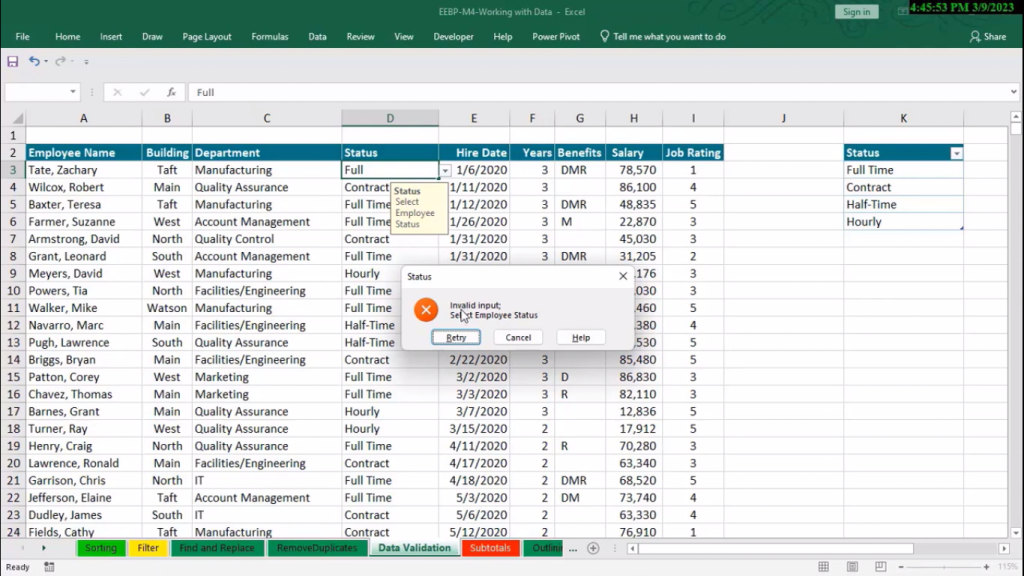
Step 6: Test and Apply
Once you’ve configured the Data Validation settings, it’s essential to test them to ensure they work as expected. Input various types of data to verify that the validation rules are correctly enforced.
Advanced Tips and Tricks
Let’s explore some advanced tips and tricks to maximize the effectiveness of Excel Data Validation:
- Using Custom Formulas: Take advantage of custom formulas to create complex validation rules based on your specific needs. This allows you to implement intricate validation logic.
- Dynamic Dropdown Lists: Use named ranges and the “indirect” function to create dynamic dropdown lists. This is particularly useful when your list of acceptable entries may change over time.
- Data Validation with Dates: If you’re working with dates, you can set up rules to restrict entries to a specific date range or prevent weekends or holidays.
- Protecting Your Workbook: Combine Data Validation with workbook protection to ensure that your validation rules remain intact, even when sharing the spreadsheet with others.
- Error Checking: Regularly check your spreadsheet for invalid data using Excel’s built-in error-checking feature. This helps you identify and correct any data that might have slipped through the validation.
Watch on Data Validation video
Click the bottom below for a full free course
Get StartedConclusion
Excel Data Validation is an indispensable tool for anyone working with spreadsheets. By setting up precise rules and criteria, you can ensure the integrity of your data and significantly reduce errors. Whether you’re managing financial data, creating reports, or simply maintaining a clean database, mastering Data Validation will elevate your Excel skills to a whole new level. Invest the time to understand and implement Data Validation, and your Excel sheets will become more reliable, accurate, and efficient than ever before.